Black & Decker freewire Manuel d'instructions Page 12
- Page / 17
- Table des matières
- DEPANNAGE
- MARQUE LIVRES
- INSTRUCTION MANUAL 1
- TABLE OF CONTENTS 2
- SAVE THESE 3
- INSTRUCTIONS 3
- DEFINITIONS OF TERMS 5
- USED IN THIS MANUAL 5
- BUTTON FUNCTIONS 6
- BUTTON FUNCTIONS, cont 7
- CODE SETUP 9
- TV/VCR/INPUT 9
- TV/VCR AND TV/DVD COMBO 9
- DIRECT CODE ENTRY 10
- PROGRAMMING WITH CODE 10
- CODE SEARCH BY BRAND 11
- BRAND SEARCH TABLE 11
- CODE IDENTIFICATION FEATURE 11
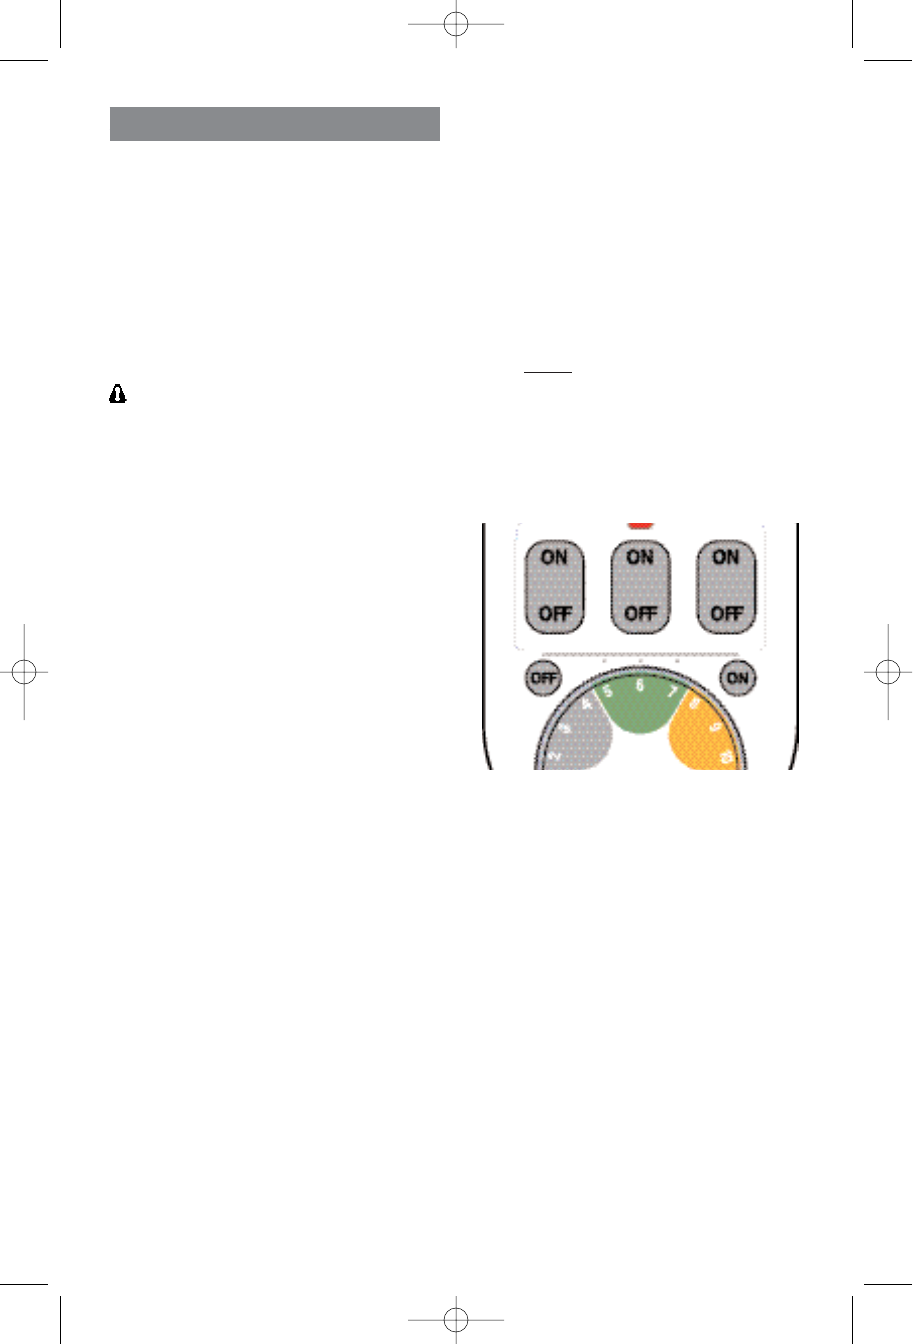
- FREEWIRE OPERATION 12
- FUNCTIONALITY 13
- REFERENCE LABEL SET UP 13
- USING FREEWIRE 13
- CAMERA OPERATION 14
- TROUBLESHOOTING 15
- TROUBLESHOOTING, cont 15
- MAINTENANCE 16
- ACCESSORIES 16
- SERVICE INFORMATION 16
- FULL TWO-YEAR HOME USE 16
- WARRANTY 16
© 2020, manymanuals.fr. Tous droits réservés | 0.928 s |
 Manymanuals.com
 Manymanuals.de
 Manymanuals.fr
 Manymanuals.it
 Manymanuals.pl
 Manymanuals.cz
 Manymanuals.es
 Manymanuals-pt.com
Commentaires sur ces manuels