9
Features
1. On/off switch
2. Lock-off button
3. Oil cap
4. Oil reservoir
5. Front guard assembly
6. Chain cover assembly
7. Chain tension adjustment screw
8. Chain
9. Guide bar
10. Battery
11. Chain sheath
12. Charger
Assembly
Warning! Before assembly, remove the battery (10) from the
tool.
Fitting and removing the battery (fig. A)
To fit the battery (10), line it up with the receptacle on
the tool. Slide the battery (10) into the receptacle and
push until the battery (10) snaps into place.
To remove the battery (10), push the release button (24)
while at the same time pulling the battery (10) out of the
receptacle.
Warning! To prevent accidental operation, make sure that
the battery is removed and that the chain sheath (11) is in
place on the saw chain (8) before performing the following
operations. Failure to do this could result in serious personal
injury.
Charging the battery (fig. B)
Charging
Warning! Do not charge the battery at ambient
temperatures below 10°C or above 40°C. Recommended
charging temperature is approximately 24°C.
Note: The charger will not charge a battery pack if the cell
temperature is below approximately 0°C or above 60°C.
Leave the battery pack in the charger and the charger
will begin to charge automatically when the cell
temperature warms up or cools down.
Plug in the charger (12) and switch on at the mains.
Insert the battery pack (10) into the charger. Make sure
that the battery pack is fully seated in the charger (12),
The charging indicator will flash continuously.
The charge is complete when the charging indicator
lights continuously.
The charger and the battery pack can be left connected
indefinitely with the LED illuminated. The LED will flash
(charging state) as the charger occasionally ‘tops off’
the battery charge.
The charging indicator will be lit as long as the battery
pack is connected to the plugged in charger.
Charge discharged batteries within 1 week. Battery life will
be greatly diminished if stored in a discharged state.
Charge indicators
If the charger detects a problem with a battery pack, the
charge indicator will flash at a fast rate.
If this occurs, re-insert the battery pack (10).
If the problem persists, put a different battery pack in the
charger to determine if the charger is OK.
If the new battery pack charges correctly, then the
original battery pack is defective and should be returned
to a service centre for recycling.
If the new battery pack gives the same indication as the
original, take the charger to be tested at an authorized
service centre.
Note: It may take as long as fifteen minutes to determine that
the pack is defective.
If the battery pack is too hot or too cold, the LED will
alternately blink fast and slow, one flash at each speed and
repeat.
Installing and removing the saw chain (fig. C - E & G)
Place the tool on a firm and stable surface.
Loosen the 2 Allen screws (14) using the Allen key (21)
provided. Remove the Allen screws (14).
Remove the chain cover assembly (6).
Turn the chain tension adjustment screw (7) counter
clockwise to allow the guide bar (9) to recede and to
reduce the tension on the saw chain (8).
Remove the old saw chain (8) from the sprocket (15)
and the guide bar (9).
The charging base is intended for indoor use only.
Read the instruction manual before use.
The charger automatically shuts off if the ambient
temperature becomes too high. As soon as the
ambient temperature has cooled down, the charger
will resume operating.
Charge only at ambient temperatures between
10°C and 40°C.
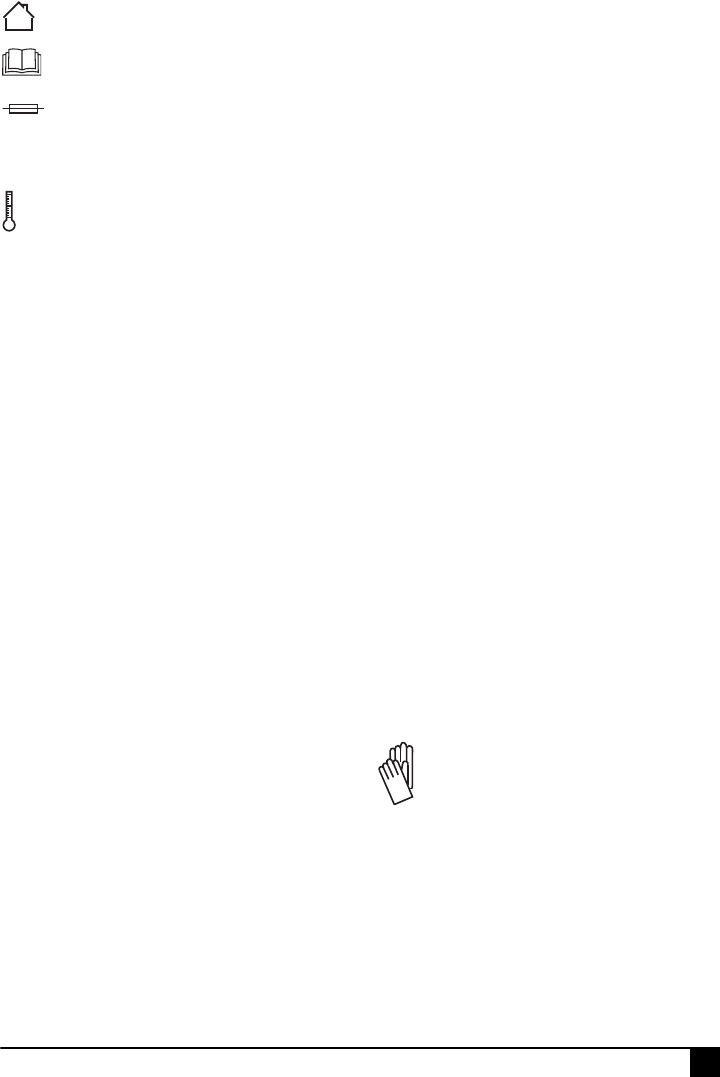
Always wear protective gloves when installing or
removing the saw chain (8). The saw chain is
sharp and can cut you when it is not running.
 (16 pages)
 Manymanuals.com
 Manymanuals.de
 Manymanuals.fr
 Manymanuals.it
 Manymanuals.pl
 Manymanuals.cz
 Manymanuals.es
 Manymanuals-pt.com
Commentaires sur ces manuels