Black & Decker HH2400 Manuel d'instructions
Naviguer en ligne ou télécharger Manuel d'instructions pour Taille-haie électrique Black & Decker HH2400. Black & Decker HH2400 Instruction manual Manuel d'utilisatio
- Page / 28
- Table des matières
- MARQUE LIVRES
- HH2455, HH2400 1
- 4) POWER TOOL USE AND CARE 3
- 5) SERVICE 3
- HEDGE TRIMMER SAFETY WARNINGS 3
- Functional Description 4
- EXTENSION CORDS 4
- ROTATING THE REAR HANDLE 6
- TRIMMING INSTRUCTIONS 6
- MAINTENANCE 8
- ACCESSORIES 8
- SERVICE INFORMATION 8
- TWO-YEAR LIMITED WARRANTY 8
- Rallonges 12
- Description fonctionnelle 13
- DIRECTIVES DE MONTAGE 13
- 14
- MÉTHODE DE COUPE 15
- POUR ÉVITER LES RISQUES DE 15
- ENTRETIEN 16
- GARANTIE LIMITÉE DE DEUX ANS 17
- ACCESSOIRES 17
- PODADORA DE SETOS DE MANGO 18
- GIRATORIO 18
- Cables prolongadores 21
- Descripción de las funciones 22
- INSTRUCCIONES PARA EL MONTAJE 22
- INSTRUCCIONES DE OPERACIÓN 23
- MANTENIMIENTO 25
- DETECCIÓN DE PROBLEMAS 25
- ACCESORIOS 26
- GARANTÍA LIMITADA DE DOS AÑOS 27
Résumé du contenu
INSTRUCTION MANUALRotating Handle Hedge Trimmer Thank you for choosing BLACK+DECKER! PLEASE READ BEFORE RETURNING THIS PRODUCT FOR ANY REASON.If you h
LIGNES DIRECTRICES EN MATIÈRE DE SÉCURITÉ - DÉFINITIONS contie
113) Sécurité personnellea) Être vigilant, surveiller le travail effectué et faire preuve de jugement
12Avertissements de sécurité pour le taille-haie Utiliser les deux mains pour faire fonctionner le taille-haie. Utiliser une main
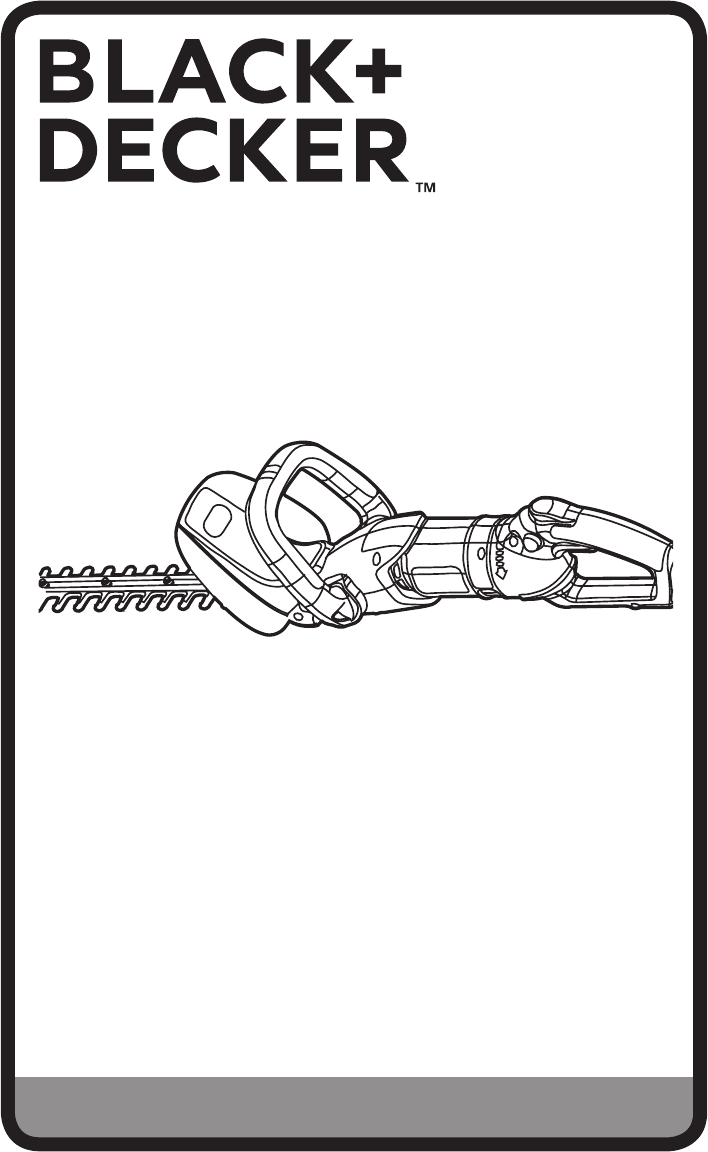
Description fonctionnelle1. Lame2. Pare-main3. Anse4. Bouton de verrouillage5. Gâchette6. Bouton de rotation7. Queue de cochon/dispositif de retenue d
14Tirer sur le BOUTON DE VERROUILLAGE (4) avec le pouce et appuyer sur la GÂCHETTE (5) avec les doigts, tel
15MÉTHODE DE COUPE1. RALLONGE (figure G). Toujours placer la rallonge
16ENTRETIEN
17FCC. Ces limites visent à assurer une protection ra
18INFORMACION CLAVE QUE DEBE SABER Figura B y C para su acople apropiado
19PAUTAS DE SEGURIDAD/DEFINICIONES
2GENERAL POWER TOOL SAFETY WARNINGSWARNING: Read all safety warnings and all instructions. Failure to follow the warnings and instructions may result
203) Seguridad personala) Permanezca alerta, controle lo que está haciendo y utilice el sentido común cuando emplee una herramienta eléctrica. No util
215) Mantenimientoa) Haga que una persona de reparaciones calificada realice el mantenimiento de su herramienta eléctrica y utilice piezas de repuesto
Descripción de las funciones1. Hoja2. Protector5. Interruptor de gatillo
INSTRUCCIONES DE OPERACIÓNPARA PRENDER LA HERRAMIENTAatrás con el pulgar y luego apriete el INTERRUPTOR DE GATILL
24INSTRUCCIONES PARA CORTAR CERCOSINSTRUCCIONES PARA CORTAR CERCOS 1. CABLE DE EXTENSIÓN – (Figura G) Mantenga
25PRECAUCIÓN: LA CUCHILLA GIRA DESPUES DE APAGAR LA PODADORA.
26limpiar la herramienta. Nunca permita que se introduzcan líquidos en la herramienta, ni Puede evita
27GARANTÍA LIMITADA DE DOS AÑOSBlack+Decker (U.S.) Inc. garantiza que este producto está libre de defectos de material o mano de obra durante un perí
28Cat. No. HH2455, HH2400 Form No. 90615872 AUGUST 2014 Copyright© 2014 BLACK+DECKER Printed in ChinaGrupo Realsa en herr
better control of the power tool in unexpected situations.f) Dress properly. Do not wear loose clothing or jewelry. Keep your hair, clothing and glove
Functional Description1. Blade2. Guard3. Bail Handle4. Lock Button5. Trigger Switch6. Rotate Button7. Pigtail Cord / Cord Retainer41234567SymbolsThe l
5ASSEMBLY INSTRUCTIONSASSEMBLY TOOLS REQUIRED (NOT SUPPLIED):- Phillips ScrewdriverATTACHING BAIL HANDLE TO TRIMMERWARNING: Only use with handle and
TO LOCK THE TOOL ON FOR CONTINUOUS RUNWITH THE TOOL RUNNING, pull the LOCK BUTTON (4) ALL THE WAY back, release the TRIGGER (5), then release the LOCK
7 3. TRIMMING NEW GROWTH - (Figure H) – A wide, sweeping motion, feeding the blade teeth through the twigs is most effective. A slight downward tilt
8MAINTENANCEThe cutting blades are made from high quality, hardened steel and with normal usage, they will not require resharpening. However, if you a
9Imported by Black & Decker (U.S.) Inc., 701 E. Joppa Rd. Towson, MD 21286 U.S.A.Consulter le site Web www.BlackandDecker.com/NewOwner pour enreg
Plus de documents pour Taille-haie électrique Black & Decker HH2400


© 2020, manymanuals.fr. Tous droits réservés | 0.130 s |
 Manymanuals.com
 Manymanuals.de
 Manymanuals.fr
 Manymanuals.it
 Manymanuals.pl
 Manymanuals.cz
 Manymanuals.es
 Manymanuals-pt.com
Commentaires sur ces manuels