Black & Decker TL10 Manuel d'instructions Page 1
Naviguer en ligne ou télécharger Manuel d'instructions pour Mini-faucheuses Black & Decker TL10. Black & Decker TL10 Instruction manual Manuel d'utilisatio
- Page / 36
- Table des matières
- DEPANNAGE
- MARQUE LIVRES
- INSTRUCTION MANUAL 1
- IMPORTANT SAFETY INSTRUCTIONS 3
- FUNCTIONAL DESCRIPTION 5
- ASSEMBLY INSTRUCTIONS 6
- OPERATING INSTRUCTIONS 8
- TROUBLESHOOTING GUIDE 10
- MODE D?EMPLOI 12
- TABLE DES MATIÈRES 13
- DANGER : 14
- DESCRIPTION FONCTIONNELLE 17
- DIRECTIVES DE MONTAGE 18
- NOTICE DʼUTILISATION 20
- GUIDE DE DÉPANNAGE 22
- MANUAL DE INSTRUCCIONES 24
- DESCRIPCIÓN DE LAS FUNCIONES 29
- INSTRUCCIONES DE ENSAMBLAJE 30
- INSTRUCCIONES DE OPERACIÓN 32
Résumé du contenu
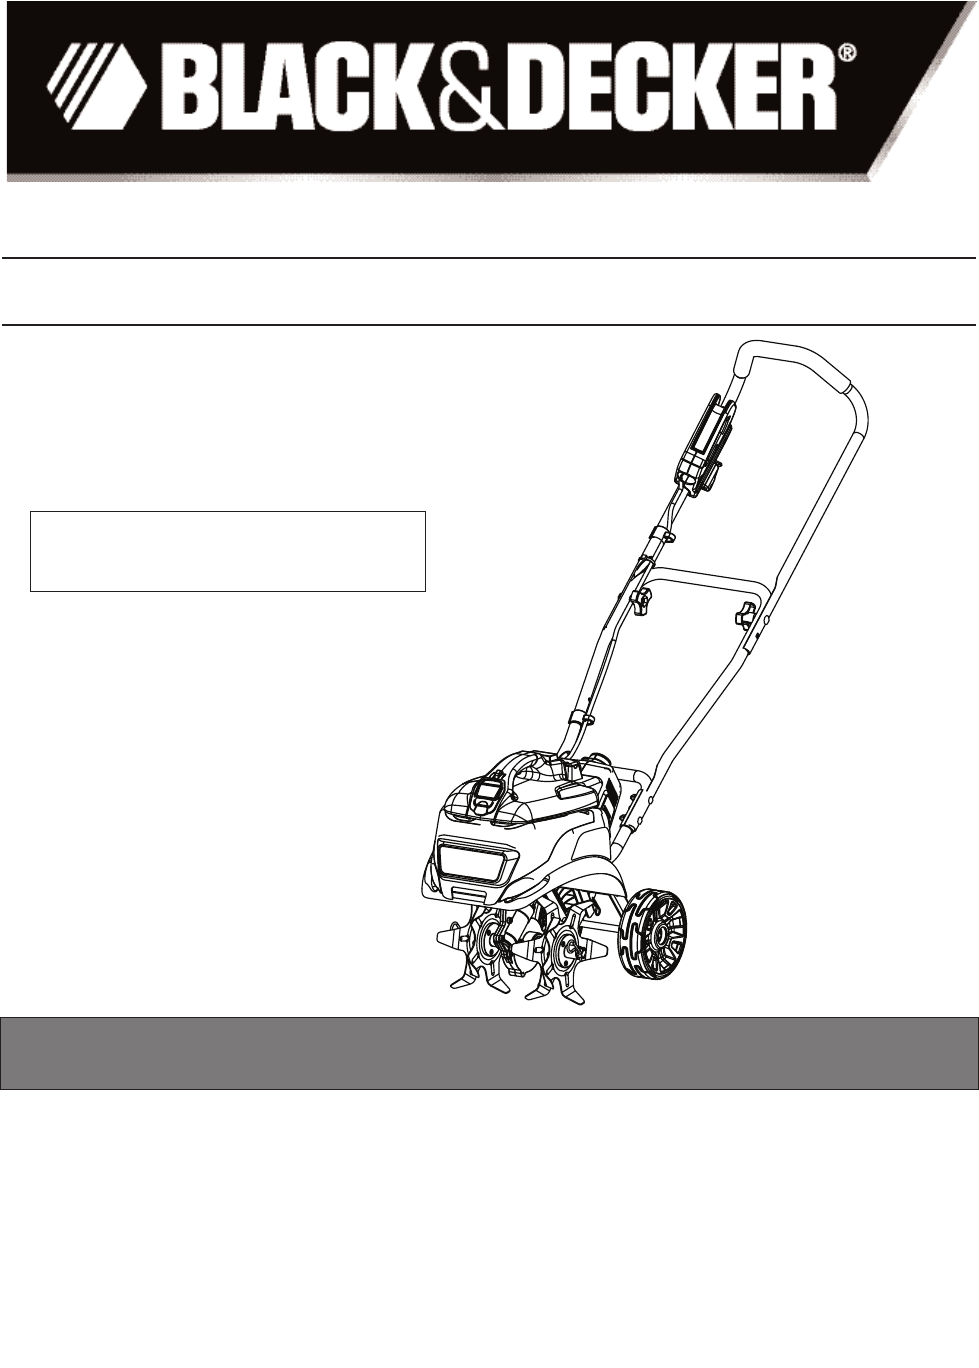
Garden TillerINSTRUCTION MANUALDate Code:Catalog Number TL10INSTRUCTIVO DE OPERACIÓN, CENTROS DE SERVICIO Y PÓLIZA DE GARANTÍA.ADVERTENCIA: LÉASE ESTE
UNJAMMING THE TINESDANGER: Avoid accidental starting. Release switch lever to turn tiller off, wait until the tines stop and unplug extension cord fro
FULL TWO-YEAR HOME USE WARRANTY Black & Decker (U.S.) Inc. warrants this product for two years against any defects in material or workmanship. The
12Rotoculteur de jardinMODE D?EMPLOI12CONSERVER CE MANUEL POUR UN USAGE ULTÉRIEUR.Merci dʼavoir choisi Black & Decker!Consulter le site Web www.Bl
13TABLE DES MATIÈRESDirectives de sécurité - définitions ...13Consignes de sécurité impo
CONSIGNES DE SÉCURITÉ IMPORTANTESDANGER :si des appareils de jardin sont utilisés, des précautions de base en matière de sécurité doivent êtresuivies
5. Suivre les recommandations du présent mode dʼemploi pour assurer en toute sécurité le chargement, le déchargement, le transport et lʼentreposage d
14) Ne pas trop tendre les bras. Conserver sa stabilité et son équilibre en tout temps.15) Être vigilant. Surveiller le travail effectué. Faire preuve
17DESCRIPTION FONCTIONNELLE1.) Poignée supérieure2.) Manette du manocontacteur3.) Poignée cen-trale4.) Boutons de poignée5.) Cadre6.) Poignée de lest7
DIRECTIVES DE MONTAGEDÉSEMBALLAGE (FIGURE B)Retirer le module cadre et poignée supérieure, la poignéecentrale, le réservoir de lest, les roues, la bar
MONTAGE DES ROUES (FIGURE E)1. Enfiler une rondelle (E-1) à chaque extrémité de lʼessieu. 2. Mettre une roue (E-3) à chaque extrémité de lʼessieu. 3.
TABLE OF CONTENTSSafety Guidelines - Definitions...2Important Safety Instructions
NOTICE DʼUTILISATIONRÉSERVOIR DE LEST (FIGURE H)Pour accroître le rendement du labourage, on peut ajouter du lest (poidssupplémentaire) au rotoculteur
RÉGLAGE DE LA BARRE DE RECOUVREMENT (FIGURE K)DANGER : Éviter tout démarrage accidentel. Arrêter le moteur, puisdébrancher la rallonge avant de régler
DÉBLOQUAGE DES DENTSDANGER : éviter tout démarrage accidentel. Relâcher la manette du manocontacteur pour éteindre le rotoculteur, puis attendre lʼimm
INFORMATION SUR LES R PARATIONSTous les centres de réparation Black & Decker sont dotés de personnel qualifié en matière dʼoutillage électrique; i
Motoazada para jardineríaMANUAL DE INSTRUCCIONESLEA EL MANUAL ANTES DE DEVOLVER ESTE PRODUCTO POR CUALQUIER MOTIVO:Si tiene una consulta o algún incon
ÍNDICENormas de seguridad: Definiciones ...25Instrucciones de seguridad importantes ...
INSTRUCCIONES DE SEGURIDAD IMPORTANTESPELIGRO: Al utilizar aparatos para jardinería, siempre se deben tomar precauciones básicas de seguridad parared
Calibre mínimo para cables de extensiónVolts Longitud total del cable en pies120V 0-25 26-50 51-100 101-150(0-7,6m) (7,6-15,2m) (15,2-30,4m) (30,4-
13) No fuerce el aparato: Funcionará mejor y habrá menos probabilidad de riesgo de lesiones si se utiliza a la velocidad para la que se diseñó.14) No
DESCRIPCIÓN DE LAS FUNCIONES1.) Mango superior2.) Palanca del interruptor3.) Mango intermedio4.) Perillas del mango5.) Marco6.) Mango del las-tre7.) T
IMPORTANT SAFETY INSTRUCTIONSDANGER:When using electric gardening appliances, basic safety precautions should always be followed to reduce the risk of
INSTRUCCIONES DE ENSAMBLAJEDESEMBALAJE (FIGURA B)Saque el ensamblaje del marco/mango superior, el mangointermedio, el tanque de lastre, las ruedas, la
ENSAMBLAJE DE LAS RUEDAS (FIGURA E)1. Coloque una arandela (E-1) en cada extremo del eje. 2. Coloque una rueda (E-1) en cada extremo del eje. 3. Co
INSTRUCCIONES DE OPERACIÓNTANQUE DEL LASTRE (FIGURA H)Para mejorar el rendimiento de labrado, se puede agregar lastre (pesoadicional) a la motoazada c
AJUSTE DE LA BARRA DE ARRASTRE (FIGURA K)PELIGRO: Evite un arranque accidental. Detenga el motor y desconecte el cable prolongador antes de ajustar l
DESATASCAMIENTO DE LOS DIENTESPELIGRO: Evite un arranque accidental. Suelte la palanca del interruptor para apagar la motoazada, espere hastaque los
ADVERTENCIA: El uso de accesorios no recomendados para utilizar con esta herramienta puede resultar peligroso.INFORMACI N DE MANTENIMIENTOTodos los C
Cat No. TL10 Form # 90575211 July 2011Copyright © 2011 Black & Decker Printed in China· GARANTÍA BLACK & DECKER · BLACK & DECKER WARRAN
To reduce the risk of electric shock, this appliance has a polarized plug (one blade is wider than the other) and willrequire the use of a polarized e
WARNING: Some dust created by this product contains chemicals known to the State of California to causecancer, birth defects or other reproductive har
ASSEMBLY INSTRUCTIONSUNPACKING - (FIGURE B)Remove the frame / upper handle assembly, mid handle,ballast tank, wheels, drag bar, tines and hardware ba
WHEEL ASSEMBLY - (FIGURE E)1. Place a washer (E-1) on each end of the axle. 2. Place a wheel (E-3) on each end of the axle. 3. Place another washer (
OPERATING INSTRUCTIONSBALLAST TANK - (FIGURE H)To improve the tilling performance, ballast (extra weight), can be added tothe tiller with the provide
ADJUSTING THE DRAG BAR - (FIGURE K)DANGER: Avoid accidental starting. Stop motor and disconnect extension cord prior to adjusting the drag bar.To adj
© 2020, manymanuals.fr. Tous droits réservés | 1.009 s |
 Manymanuals.com
 Manymanuals.de
 Manymanuals.fr
 Manymanuals.it
 Manymanuals.pl
 Manymanuals.cz
 Manymanuals.es
 Manymanuals-pt.com
Commentaires sur ces manuels