Black & Decker 1 VPX VPX1201 Manuel d'instructions
Naviguer en ligne ou télécharger Manuel d'instructions pour Perceuses combinées sans fil Black & Decker 1 VPX VPX1201. Black & Decker 1 VPX VPX1201 Instruction manual Manuel d'utilisatio
- Page / 39
- Table des matières
- MARQUE LIVRES
- 1-800-544-6986 1
- GENERAL SAFETY RULES 2
- SAVE THESE INSTRUCTIONS 2
- SPECIFIC SAFETY RULES 3
- CHARGERS 6
- READ ALL INSTRUCTIONS 7
- OPERATING INSTRUCTIONS 10
- RÈGLES DE SÉCURITÉ GÉNÉRALES 15
- CONSERVER CES DIRECTIVES 15
- Description fonctionnelle 18
- CHARGEURS DE PILES 18
- INTRODUCTION 19
- BLOCS-PILES 19
- LIRE TOUTES LES DIRECTIVES 19
- FONCTIONNEMENT 22
- LE SCEAU RBRC 25
- (55)5326-7100 26
- NORMAS GENERALES DE SEGURIDAD 27
- Descripción funcional 30
- LOS CARGADORES DE BATERÍAS 31
- INTRODUCCIÓN 31
- LOS PAQUETES DE BATERÍAS 32
- LEA TODAS LAS INSTRUCCIONES 32
- INSTRUCCIONES DE OPERACIÓN 34
- El sello RBRC™ 37
- SECCI N 39
- AMARILLA 39
- Si funciona… 39
Résumé du contenu
VEA EL ESPAÑOL EN LA CONTRAPORTADA.SAVE THIS MANUAL FOR FUTURE REFERENCE.INSTRUCTIVO DE OPERACIÓN, CENTROS DE SERVICIO Y PÓLIZA DE GARANTÍA. ADVERTENC
10OPERATING INSTRUCTIONSWARNING: Always use proper eye protection that conforms to ANSI Z87.1(CAN/CSA Z94.3) while operating this power tool.NOTE: Bat
112. Insert the bit or other accessory fully into the chuck, and tighten securely byrotating the chuck in the clockwise direction as viewed from the c
12ACCESSORIESRecommended accessories for use with your tool are available from your local dealeror authorized service center. If you need assistance r
13SERVICE INFORMATIONAll Black & Decker Service Centers are staffed with trained personnel to providecustomers with efficient and reliable power t
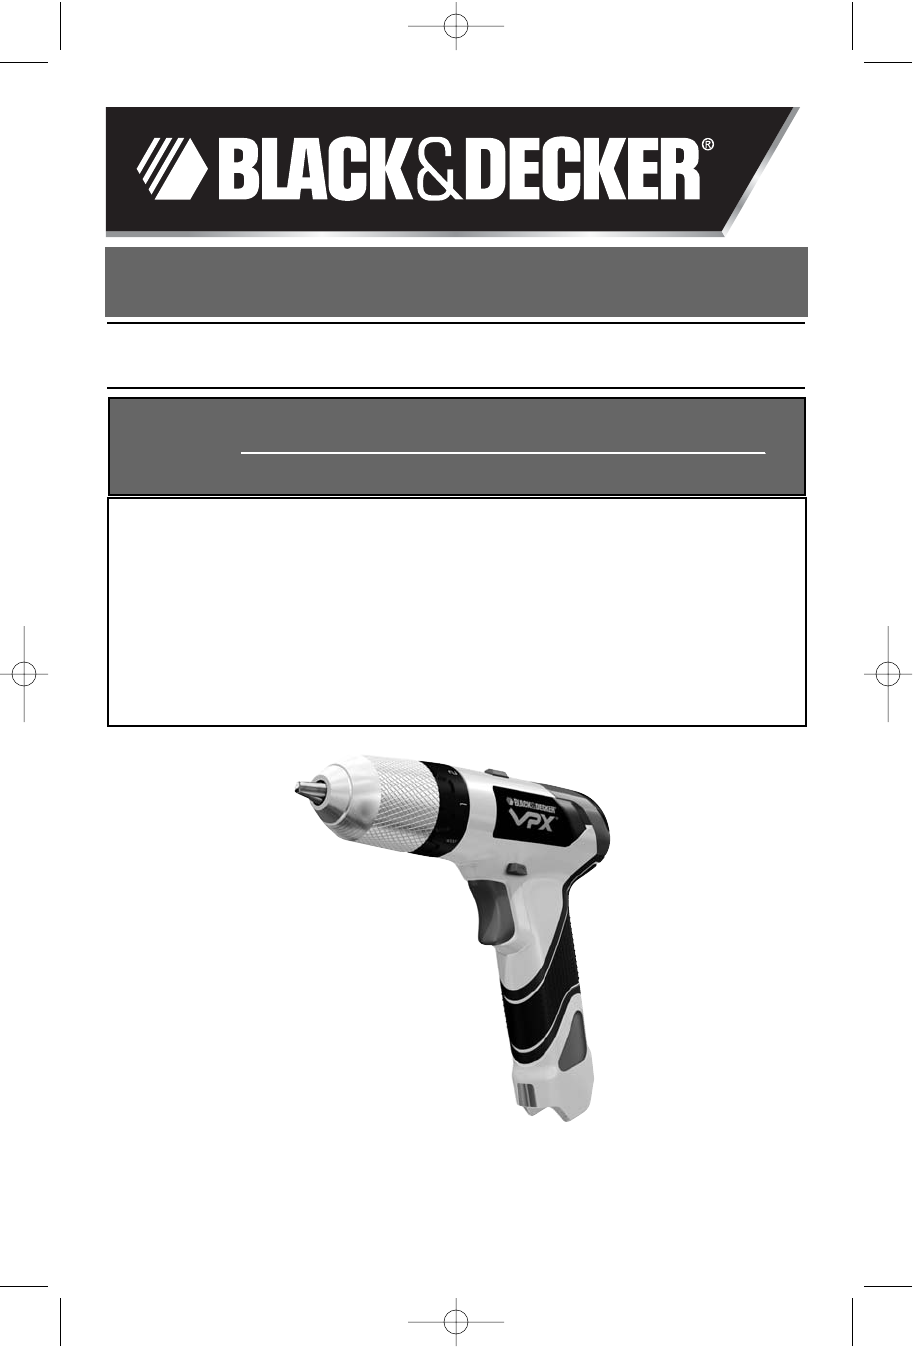
14PPPPEEEERRRRCCCCEEEEUUUUSSSSEEEE////VVVVIIIISSSSSSSSEEEEUUUUSSSSEEEE1111VVVVPPPPXXXXTTTTMMMMMODE D’EMPLOIAVANT DE RETOURNER CE PRODUIT POURQUELQUE R
15RÈGLES DE SÉCURITÉ GÉNÉRALESAVERTISSEMENT! Lire toutes les directives. Tout manquement auxdirectives suivantes pose des risques de choc électrique,
16Les vêtements amples, bijoux ou cheveux longs pourraient s'enchevêtrer dans lespièces mobiles. g) Si des composants sont fournis pour le raccor
17CONSIGNES DE SÉCURITÉ PARTICULIÈRES• Tenir l’outil par les surfaces isolées prévues à cette fin lorsqu’il risque d’entreren contact avec des fils ca
18LIGNES DIRECTRICES EN MATIÈRE DE SÉCURITÉ - DÉFINITIONSIl est important que vous lisiez et compreniez ce mode d’emploi. Les informations qu’ilcontie
19• NE PAS tenter de charger le bloc-piles avec autre chose qu’un chargeur demarque VPXTM. Les chargeurs et blocs-piles VPXTMsont conçus spécialement
2GENERAL SAFETY RULESWARNING! Read all instructions. Failure to follow all instructions listedbelow may result in electric shock, fire and/or serious
20avec les yeux, rincer l’oeil ouvert à l’eau pendant 15 minutes ou jusqu’à ce quel’irritation cesse. Si des soins médicaux sont nécessaires, l’électr
21Remarque : il peut falloir jusqu’à quinze minutes au chargeur pour déterminer ladéfectuosité du bloc-piles.Si le bloc-piles est trop chaud ou trop f
22MISE EN GARDE : ne jamais ouvrir le bloc-piles pour quelque raison que ce soit. Si leboîtier en plastique du bloc-piles est brisé ou fissuré, le ret
23• Pour le perçage du bois, du métal et des plastiques, aligner la bague sur le symbolede la perceuse. • Pour le vissage, aligner la bague sur la c
24PERÇAGE DANS LE MÉTALUtiliser un lubrifiant de coupe pour percer les métaux. Seuls la fonte et le laiton doiventêtre percés à sec. Les meilleurs lub
25ACCESSOIRESLes accessoires recommandés pouvant être utilisés avec l’outil sont disponibles auprèsde votre distributeur local ou centre de réparation
26TTTTAAAALLLLAAAADDDDRRRROOOO////DDDDEEEESSSSTTTTOOOORRRRNNNNIIIILLLLLLLLAAAADDDDOOOORRRR 1111VVVVPPPPXXXXTTTTMMMMMANUAL DE INSTRUCCIONESCONSERVE
27NORMAS GENERALES DE SEGURIDADADVERTENCIA: Lea todas las instrucciones. El incumplimiento de lasinstrucciones enumeradas debajo puede provocar descar
28holgadas, las joyas o el cabello largo pueden quedar atrapados en las piezasmóviles.Los orificios de ventilación suelen cubrir piezas móviles, por l
29su herramienta eléctrica y utilice piezas de repuesto idénticas solamente.Esto garantizará la seguridad de la herramienta eléctrica.NORMAS ESPECÍFIC
3b) Do not use the power tool if the switch does not turn it on and off. Any powertool that cannot be controlled with the switch is dangerous and must
30PAUTAS DE SEGURIDAD/DEFINICIONESEs importante que lea y comprenda este manual. La información que contiene serelaciona con la protección de SU SEGUR
31INSTRUCCIONES DE SEGURIDAD IMPORTANTES PARALOS CARGADORES DE BATERÍASCONSERVE ESTAS INSTRUCCIONES: Este manual contiene instrucciones deseguridad im
32funcionar fácilmente. Simplemente coloque el paquete de baterías en un receptáculo deun cargador enchufado y cargará el paquete automáticamente. A m
333. Recargue las baterías descargadas a la brevedad posible después de su usoo la vida útil de estas puede reducirse en gran medida. PROCEDIMIENTO DE
34automáticamente la carga cuando la temperatura de la célula suba o baje.2. El cargador y el paquete de baterías pueden estar calientes al tacto dura
35accionamiento del interruptor antes de extraer o instalar la batería.Instalación del paquete de baterías:Inserte el extremo del terminal metálico de
36ADVERTENCIA: No agarre el portabrocas y encienda la herramienta para ajustar lasbrocas (o cualquier otro accesorio). Cuando cambia accesorios, el po
37ACCESORIOSLos accesorios que se recomiendan para la herramienta están disponibles en sudistribuidor local o en el centro de mantenimiento autorizado
38iones de litio usadas. Ayude a proteger nuestro medio ambiente y a conservar losrecursos naturales: devuelva la herramienta a un centro de mantenim
39CULIACAN, SINAv. Nicolás Bravo #1063 Sur(667) 7 12 42 11Col. Industrial BravoGUADALAJARA, JALAv. La Paz #1779(33) 3825 6978Col. Americana Sector Jua
4• ANSI S12.6 (S3.19) hearing protection,• NIOSH/OSHA respiratory protection.WARNING: Some dust created by power sanding, sawing, grinding, drilling,
5• The label on your tool may include the following symbols. The symbols and theirdefinitions are as follows:V...volts A ...
6IMPORTANT SAFETY INSTRUCTIONS FOR BATTERYCHARGERSSAVE THESE INSTRUCTIONS: This manual contains important safety instructions forbattery chargers.• Be
7• An extension cord must have adequate wire size (AWG or American WireGauge) for safety. The smaller the gauge number of the wire, the greater thecap
8WARNING: Never attempt to open the battery pack for any reason. If battery packcase is cracked or damaged, do not insert into charger. Do not crush,
9was plugged into a sperate outlet therefore a battery can be removed from anywherealong the daisy chain without affecting the other chargers.LEAVING
Produits connexes et manuels pour Perceuses combinées sans fil Black & Decker 1 VPX VPX1201


 (7 pages)


 (72 pages)
© 2020, manymanuals.fr. Tous droits réservés | 0.757 s |
 Manymanuals.com
 Manymanuals.de
 Manymanuals.fr
 Manymanuals.it
 Manymanuals.pl
 Manymanuals.cz
 Manymanuals.es
 Manymanuals-pt.com
Commentaires sur ces manuels